- Standard shipping (non-bikes)* -5 to 7 working days
Delivery charges
£4.99
| - Standard shipping for bikes (per bike)* - 5 to 7 working days
Delivery charges
£25.00
|
- Standard shipping for e-bikes (per bike)* - 5 to 7 working days
Delivery Charges
£35.00
| |
HOW TO ASSEMBLE YOUR BIKE:
The majority of the bicycle has been set up by a qualified mechanic, but you will be required to unpack and assemble a few basic components to get the bike ready to ride. If you are unsure of your ability to set up the bicycle, we recommend taking it to a local bicycle dealer for assembly and inspection.
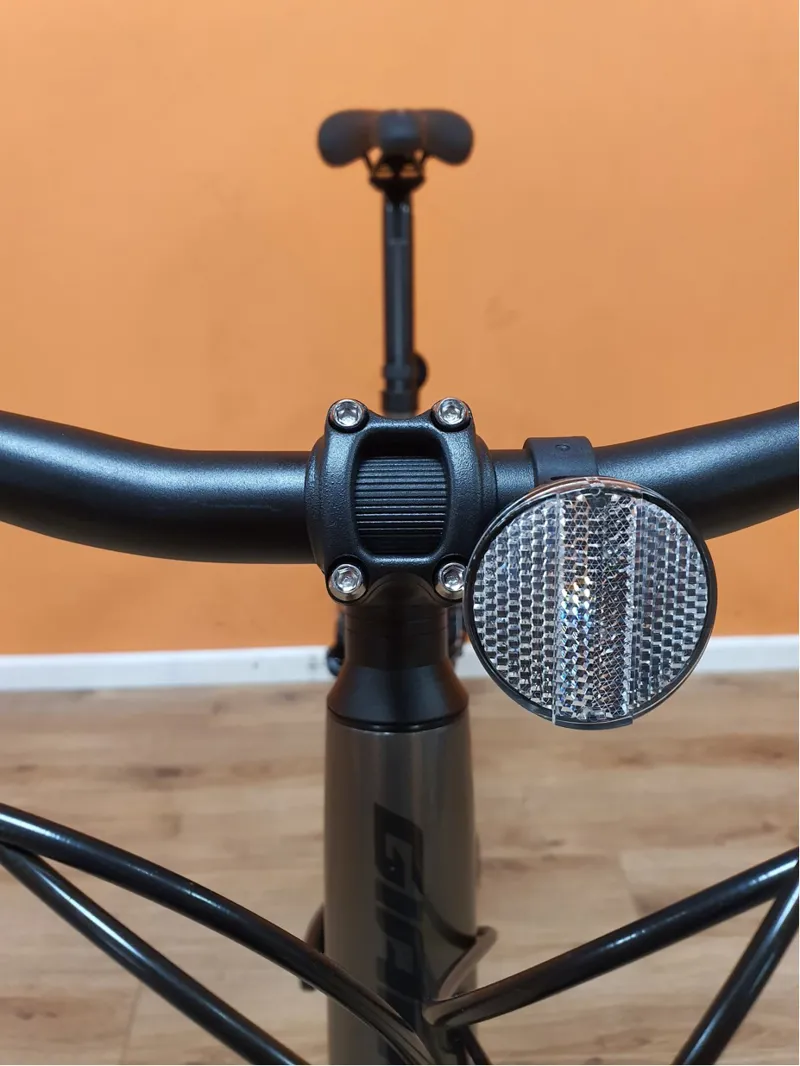
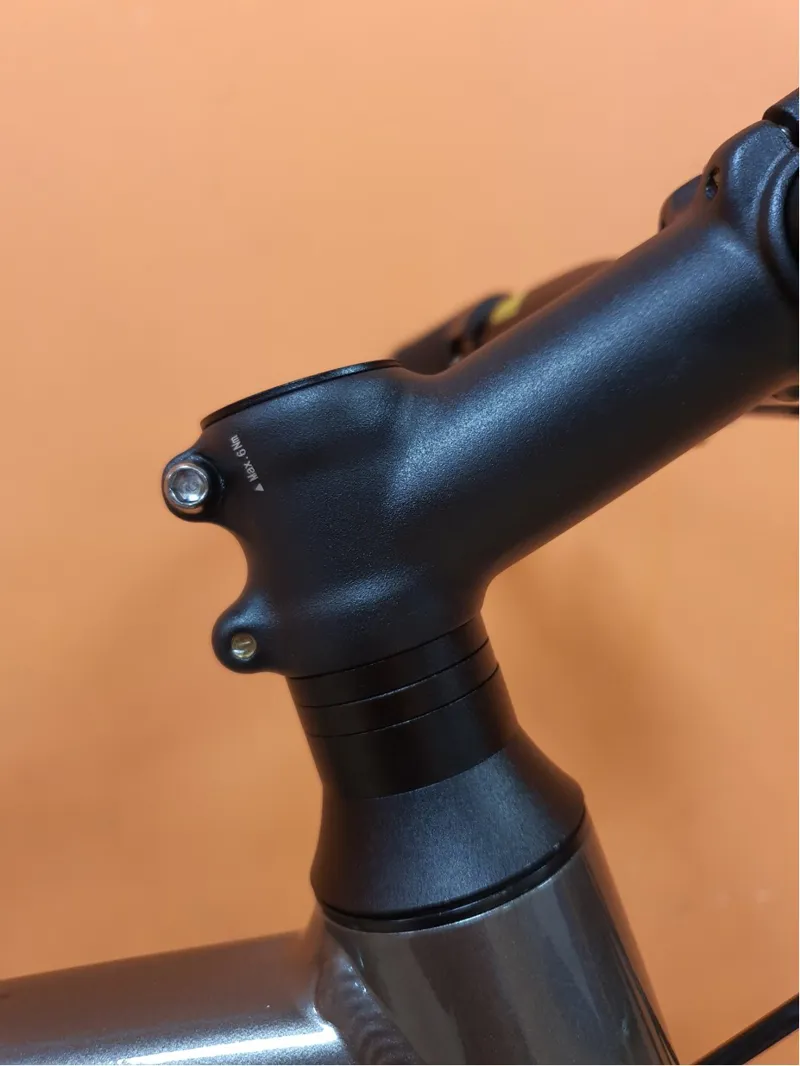
Step 1. Once the bike has been removed from the box and packaging has been disposed of, rotate the stem around, if necessary to be in line with the front wheel. Fit the handlebars to the stem using the correct size hex/torx keys and tighten all bolts to the manufacturer's recommended torque rating.
OR
We may have taken the stem spacers out to drop the stem down, so you will need to put them back underneath the stem
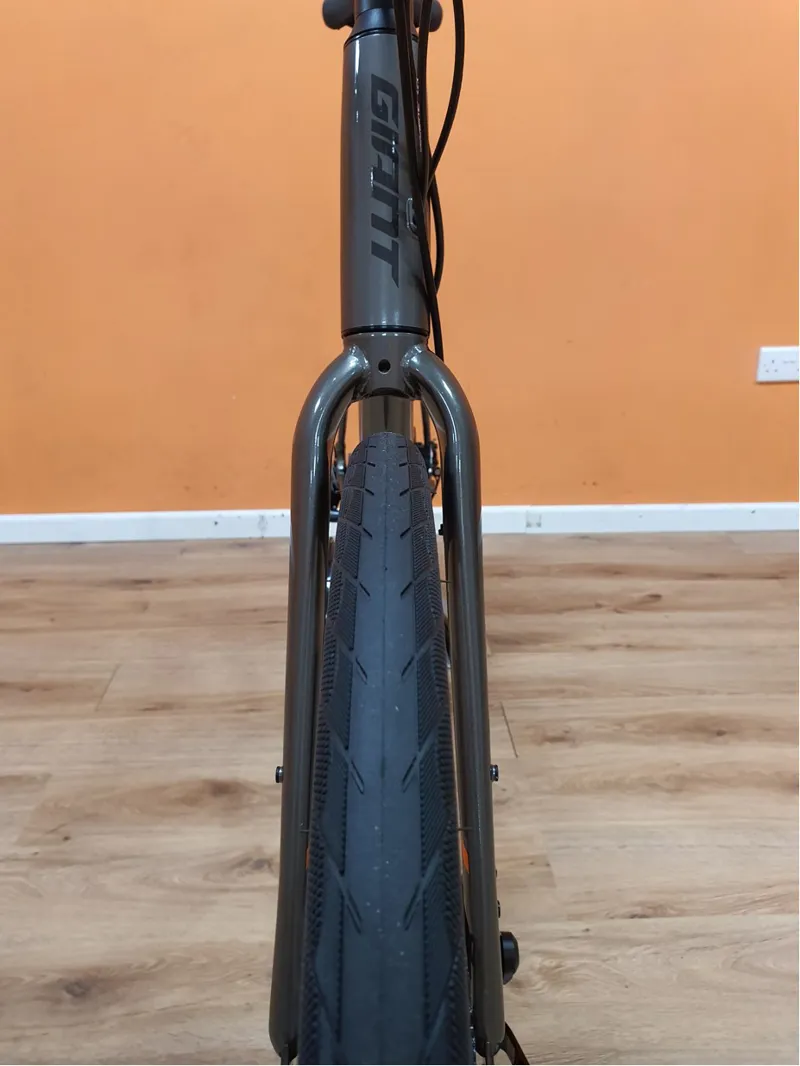
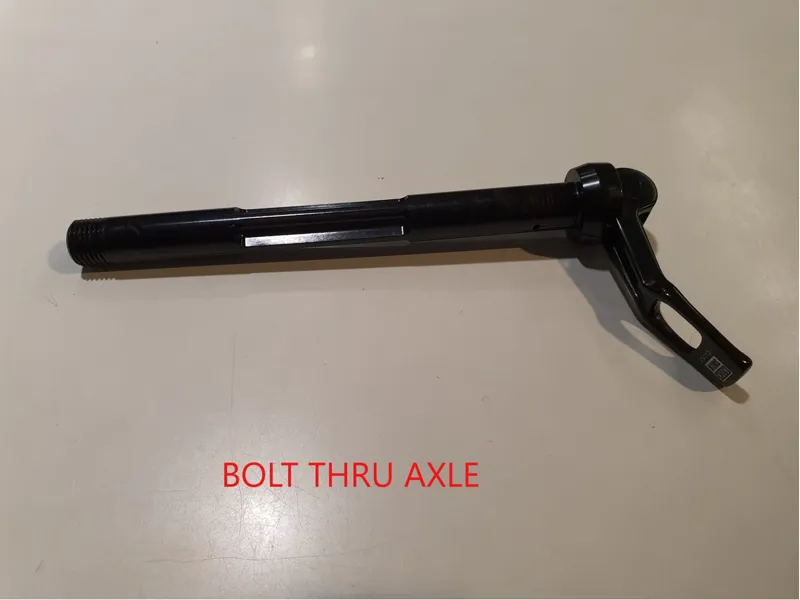
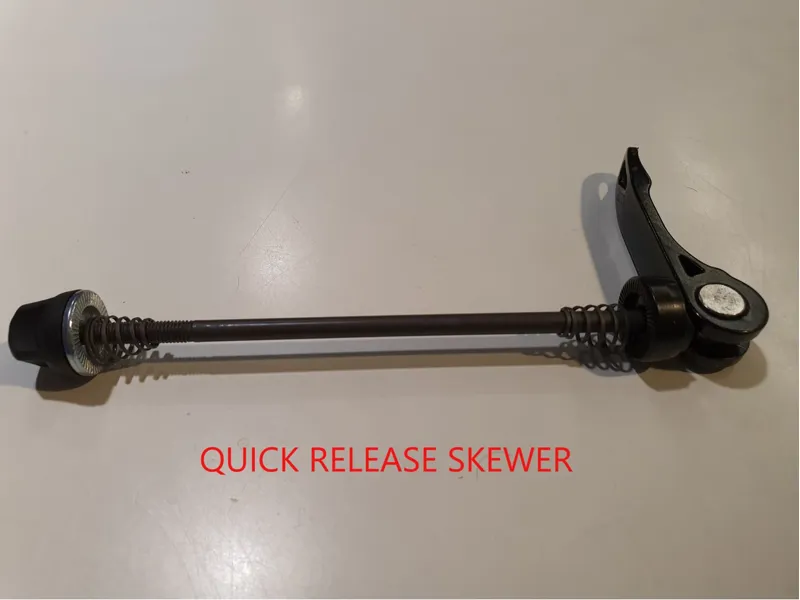
Step 2. Fit the front wheel into the forks centrally and fasten securely in accordance with your bike’s instruction manual. Wheels are usually secured by either a Quick release skewer or bolt thru axle.
Step 3. Make sure your brakes are correctly fastened for operation. Make sure no cables or hoses are wrapped around the frame to cause friction or restrict movement of the handlebars. The3 common types of brake are disc, calliper, and V-brake, please refer to your owner’s manual for the appropriate set up methods.
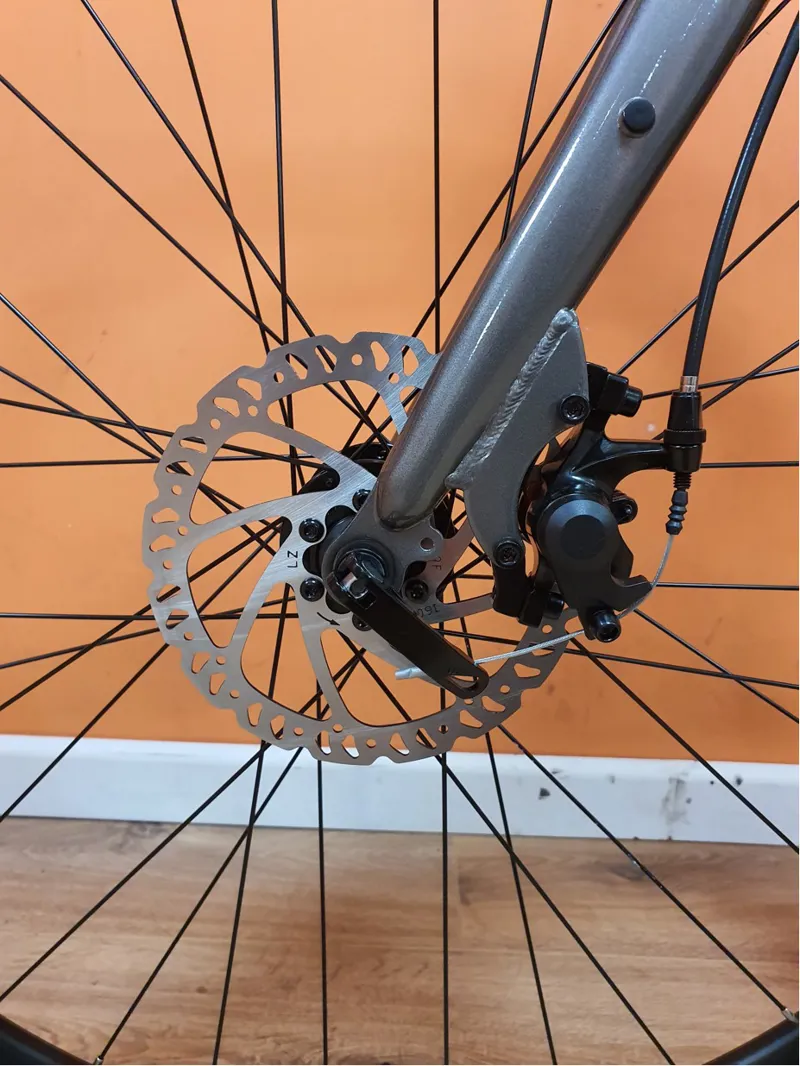
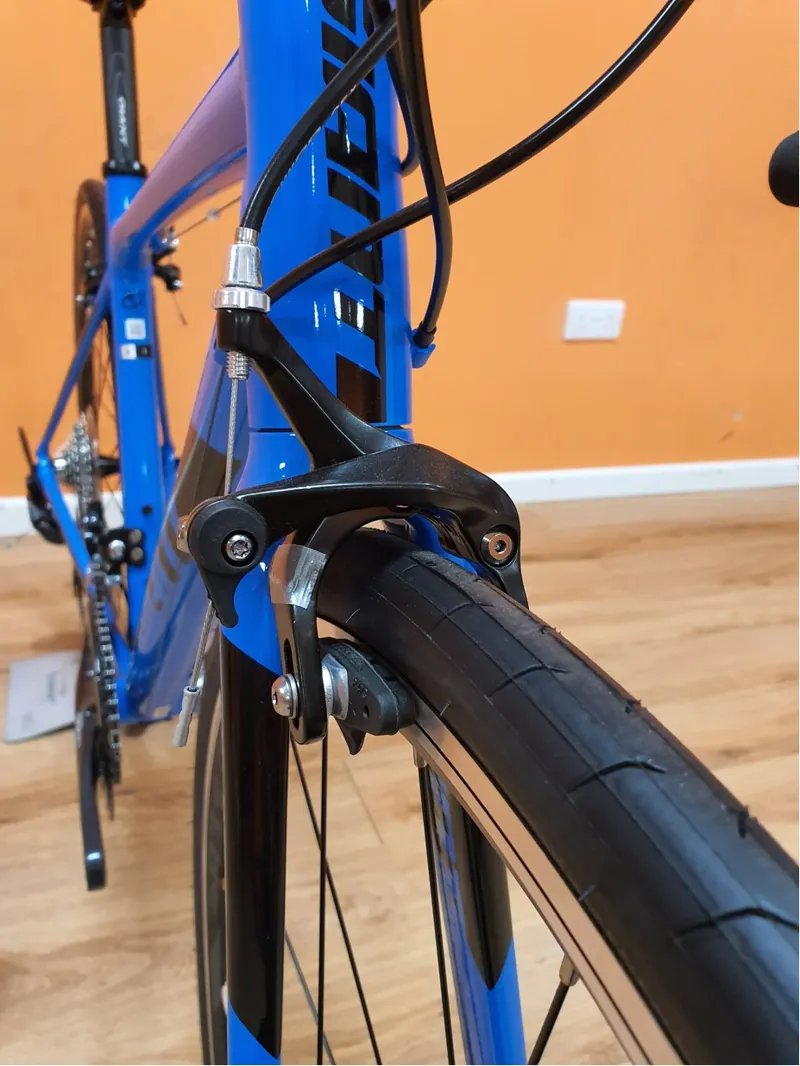
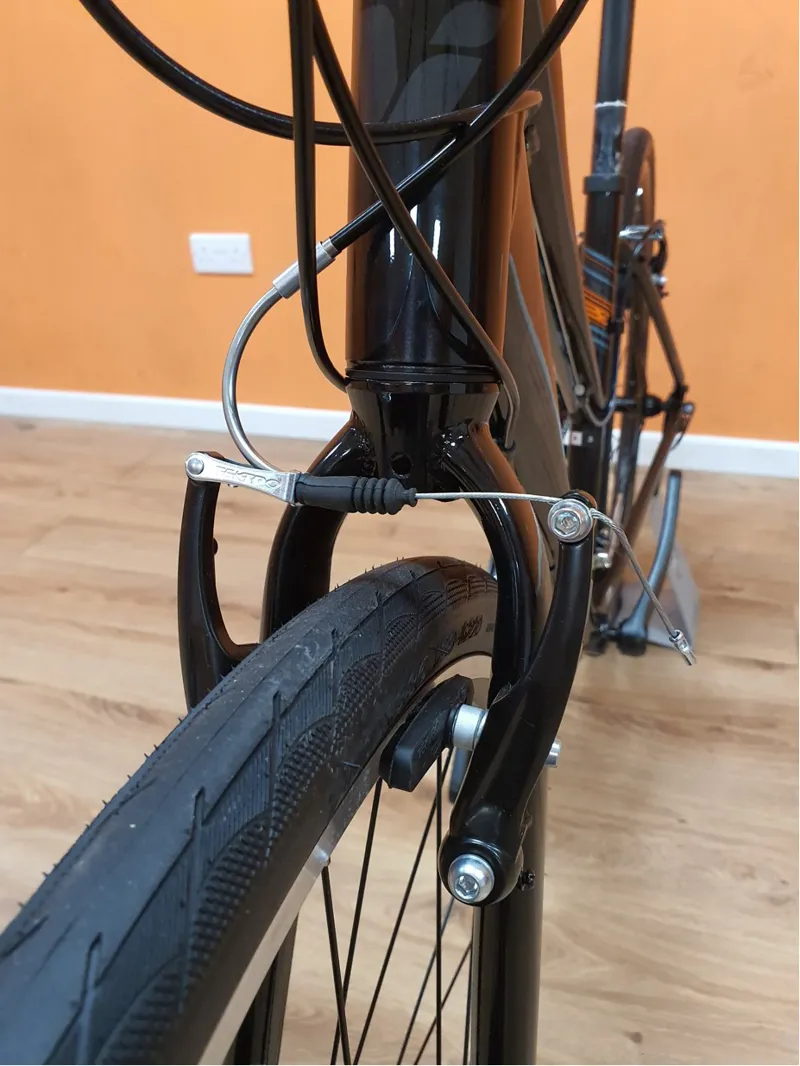
Disc Brake Calliper Brake V-Brake
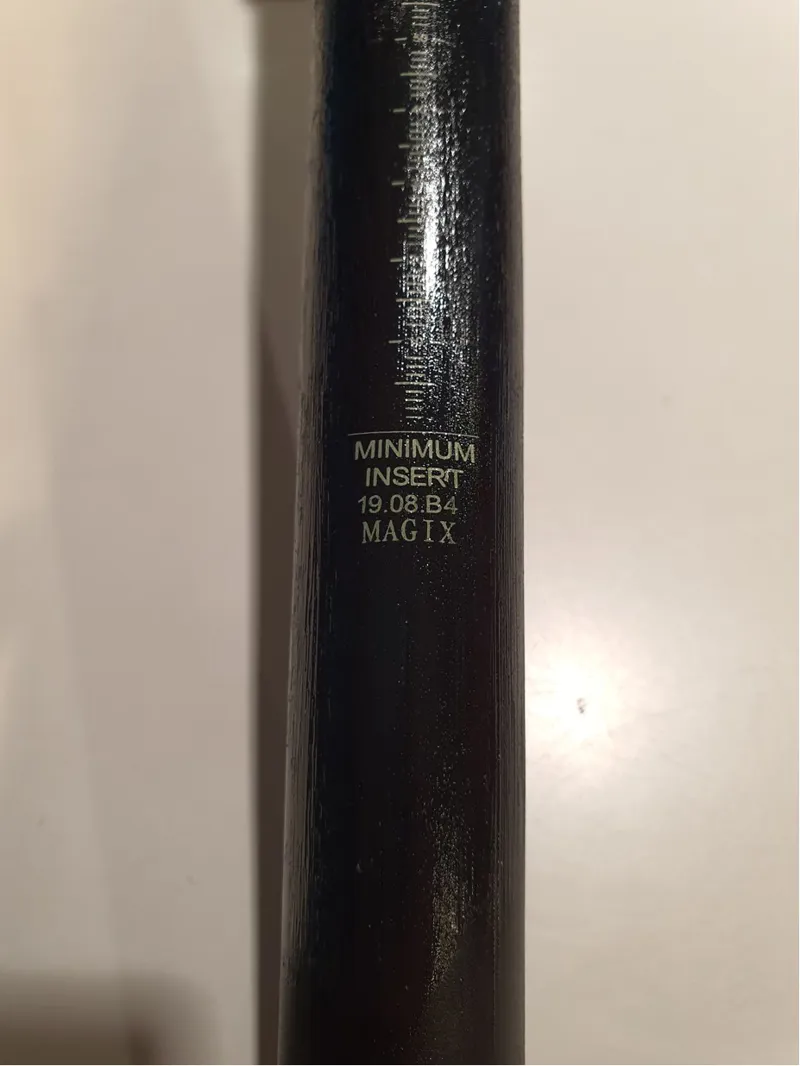
Step 4. Insert the seatpost into the seat tube of the frame using a suitable assembly grease, and tighten the seat collar using the correct size hex/torx keys to the manufacturer’s recommended torque rating. If your bike has a quick release seat collar, make sure that you do not over tighten the bolt before closing as this could damage your frame. Also remember not to exceed the minimum insertion line marked clearly on the seatpost.
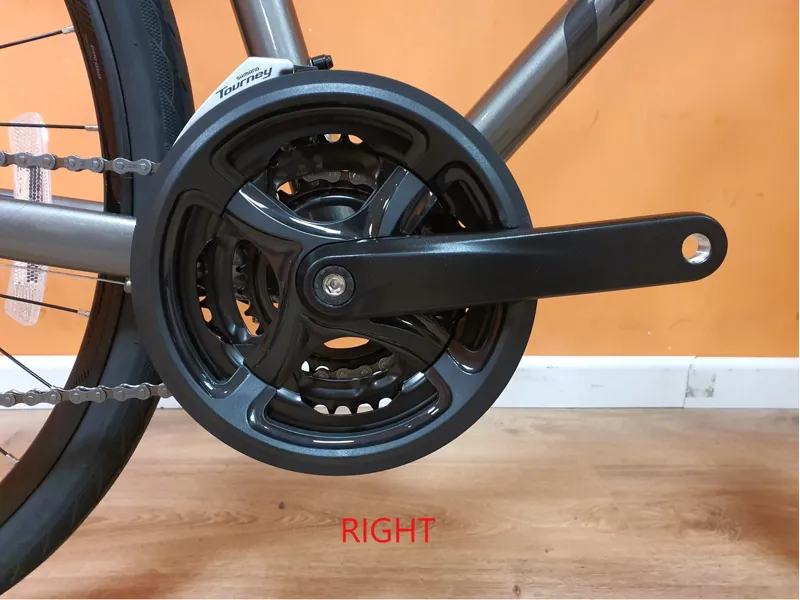
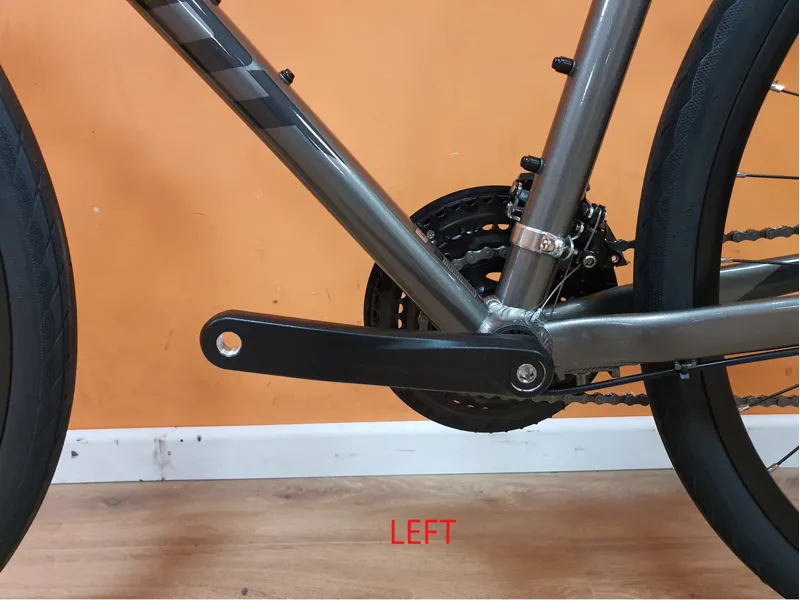
Step 5. Fit the pedals (separate purchase may be required) to the cranks using a suitable assembly grease on the axle threads. Make sure that the pedals are fitted on the correct sides (they will be labelled L and R on the pedal axles) as fitting on the incorrect sides can cause damage to the components. Note also that pedals are threaded differently on each side of the bike
Step 6. Check that the brakes are functioning correctly BEFORE riding your bike as non-working brakes may result in injury. The videos below show basic pre-ride checks for both electric and standard bikes.
| PRE-RIDE BIKE CHECKS | | PRE-RIDE ELECTRIC BIKE CHECKS |
| | |
If you have any questions or concerns, our rider support team is on hand to help.
We hope you enjoy your new bicycle and we look forward to your business in the future. The Cadence Performance team,
CLICK AND COLLECT INFO -
If you chose click and collect, please wait for the store to notify you when your order is ready for pickup.
When the order is collected, please make sure you check the RELEVANT ID CHECKING PROCESS for the PAYMENT METHOD as you will need to bring the following apon collection.
ID CHECKING PROCESS AND PAYMENT METHOD
- Valid photo ID (driver's license or passport ONLY) matching consumer name
- The original payment card matching consumer name
- Number (last 4 digits)
- Card expiry date